Photo and inspection guide
Take a clear photo.
Keep a complete record.
From your first photo to your next follow-up.
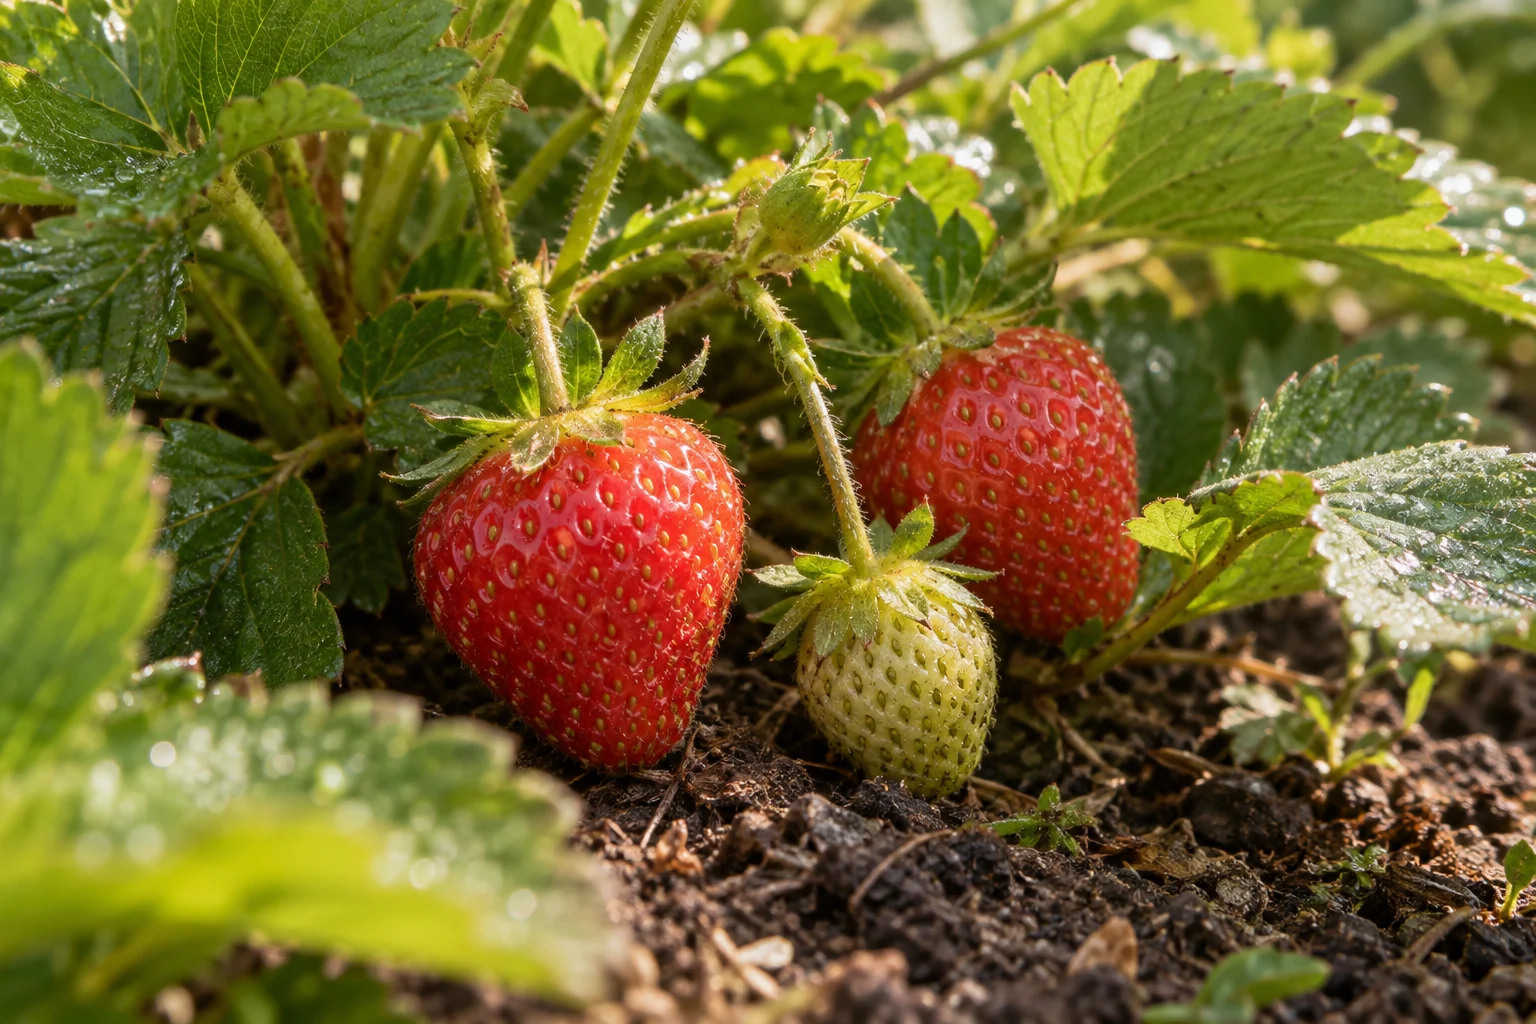
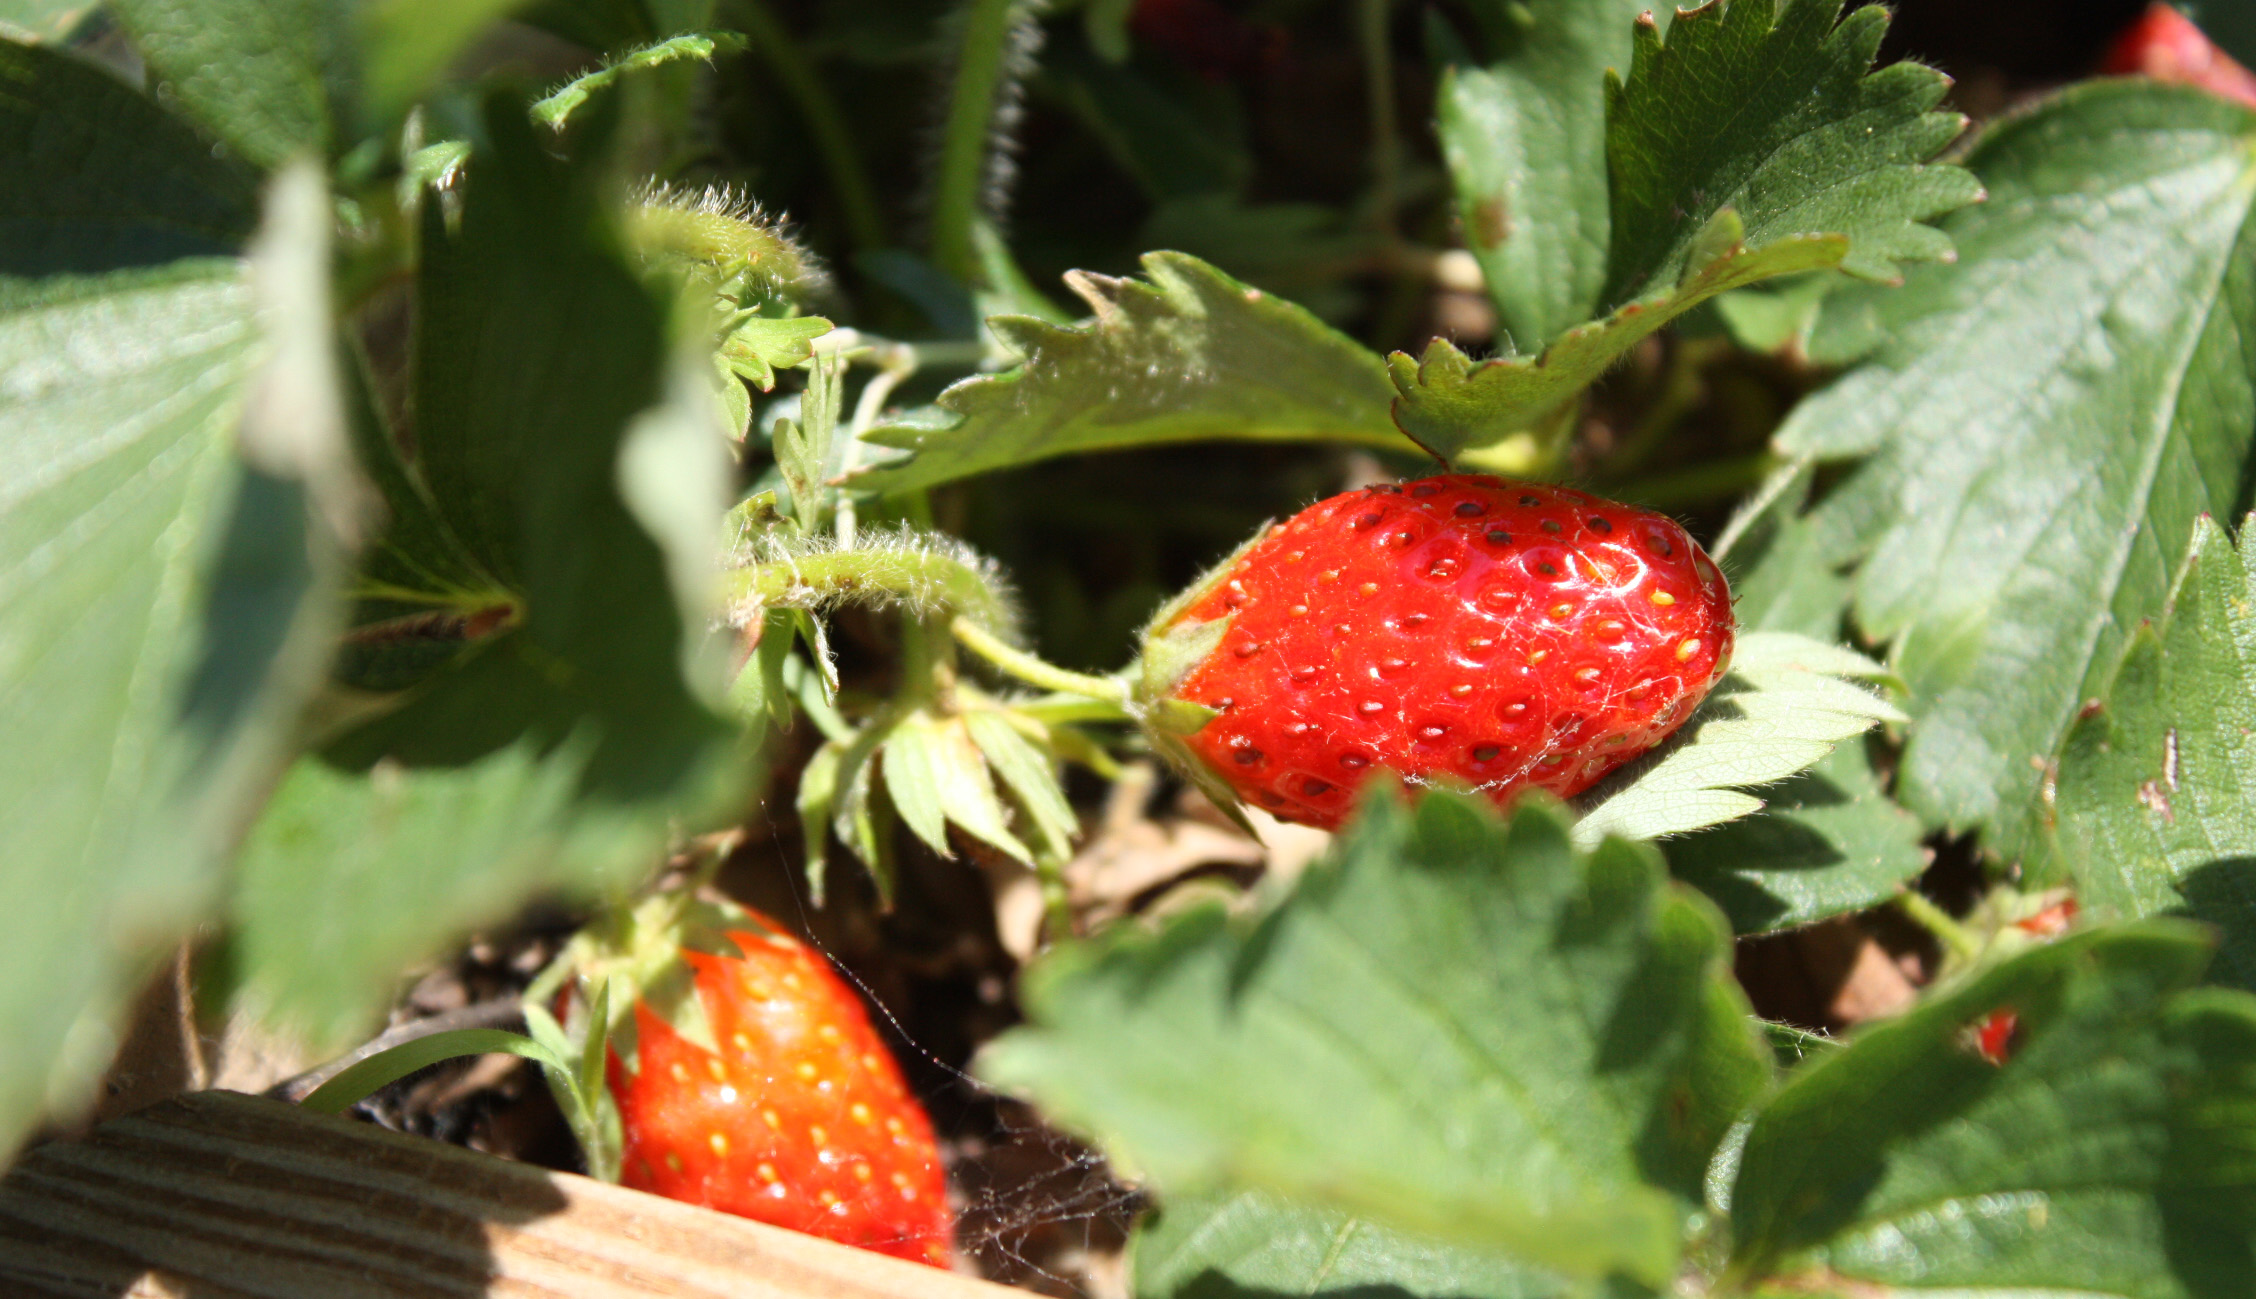
01 / Prepare photos
Start with the whole plant.
Then capture the details.
- Start with the whole plant and nearby crops, so the affected location is visible.
- Take a sharp close-up of the affected leaf, stem or fruit. Avoid strong glare.
- Photograph both sides of the leaf, including tissue that has not completely died.
- Use similar subjects within one check. Avoid mixing different crops or photos taken too far away.
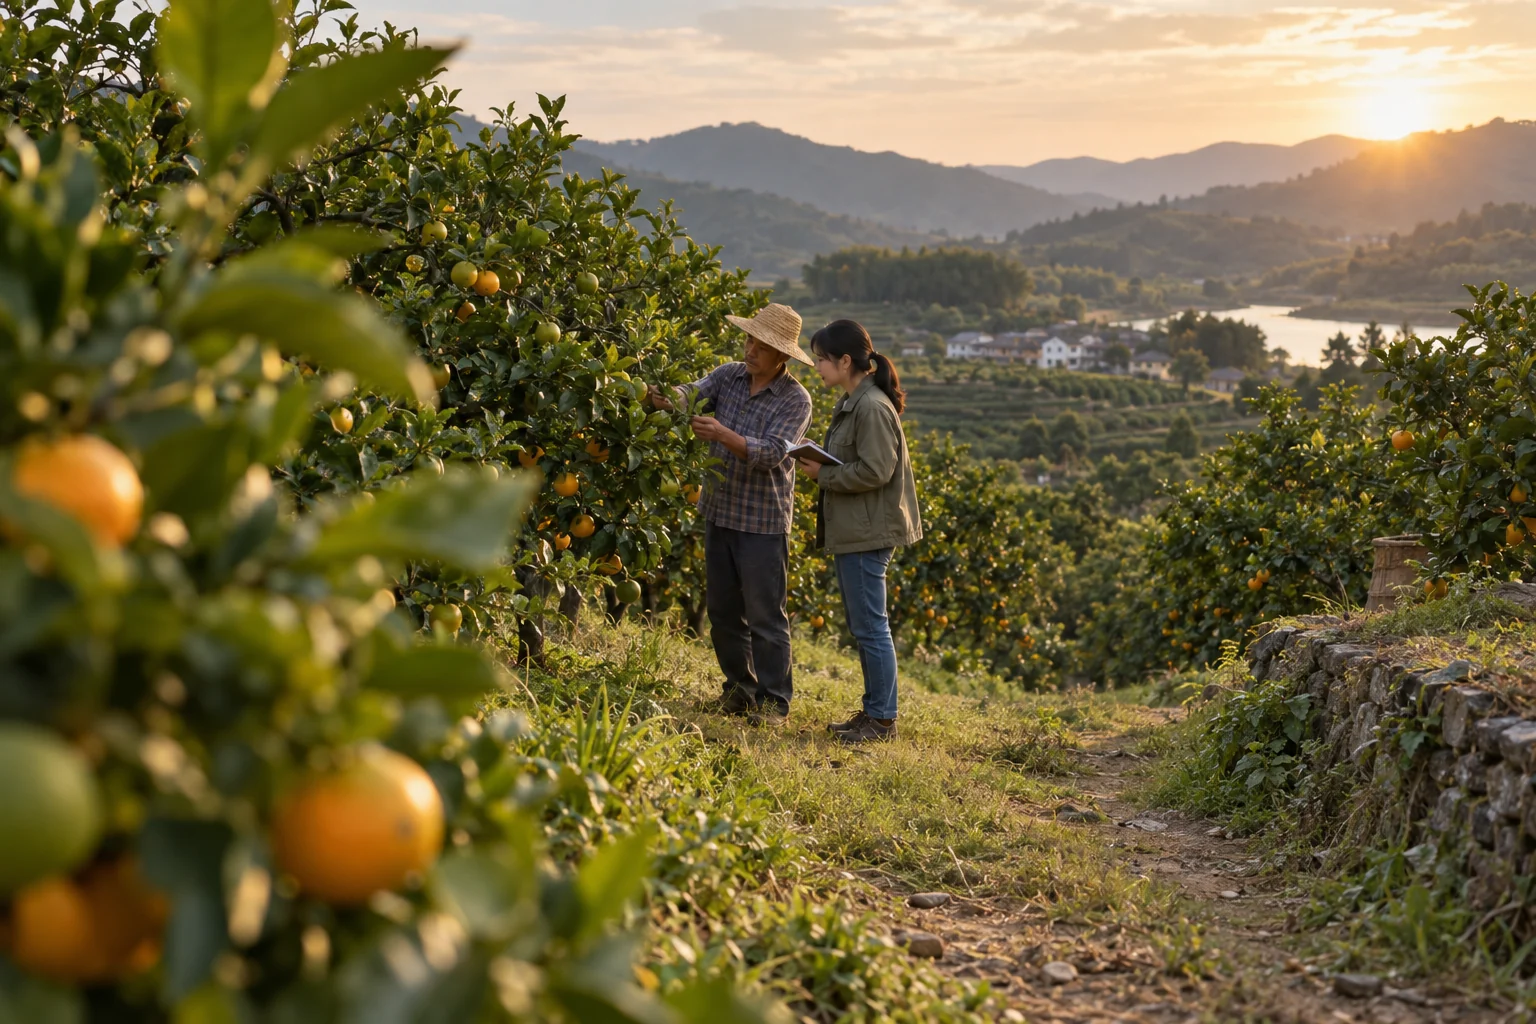
02 / Add field context
Beyond the photo,
what else has changed?
- What crop is it? Is it grown in a greenhouse or outdoors?
- When did you first notice it? Which part of the plant is affected?
- Are only a few plants affected, or several neighbouring plants? Has it spread recently?
- Have there been recent changes in watering, fertilising, pesticide use or the weather?
Add these details to your field notes or crop health consultation. A short plot name is enough; a full address is not needed.
Consult with your field notes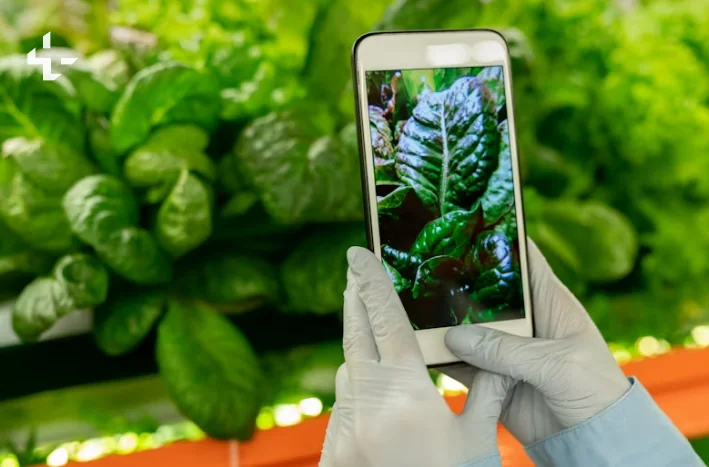
03 / Human verification
Review the result.
Check the plant, too.
The model only offers clues within the categories it was trained on. A result with no detected target still needs a manual check; it does not establish that the crop is healthy.
If the result differs from what you see in the field, take another photo from a different angle and ask a local agricultural adviser to confirm.
See what the models support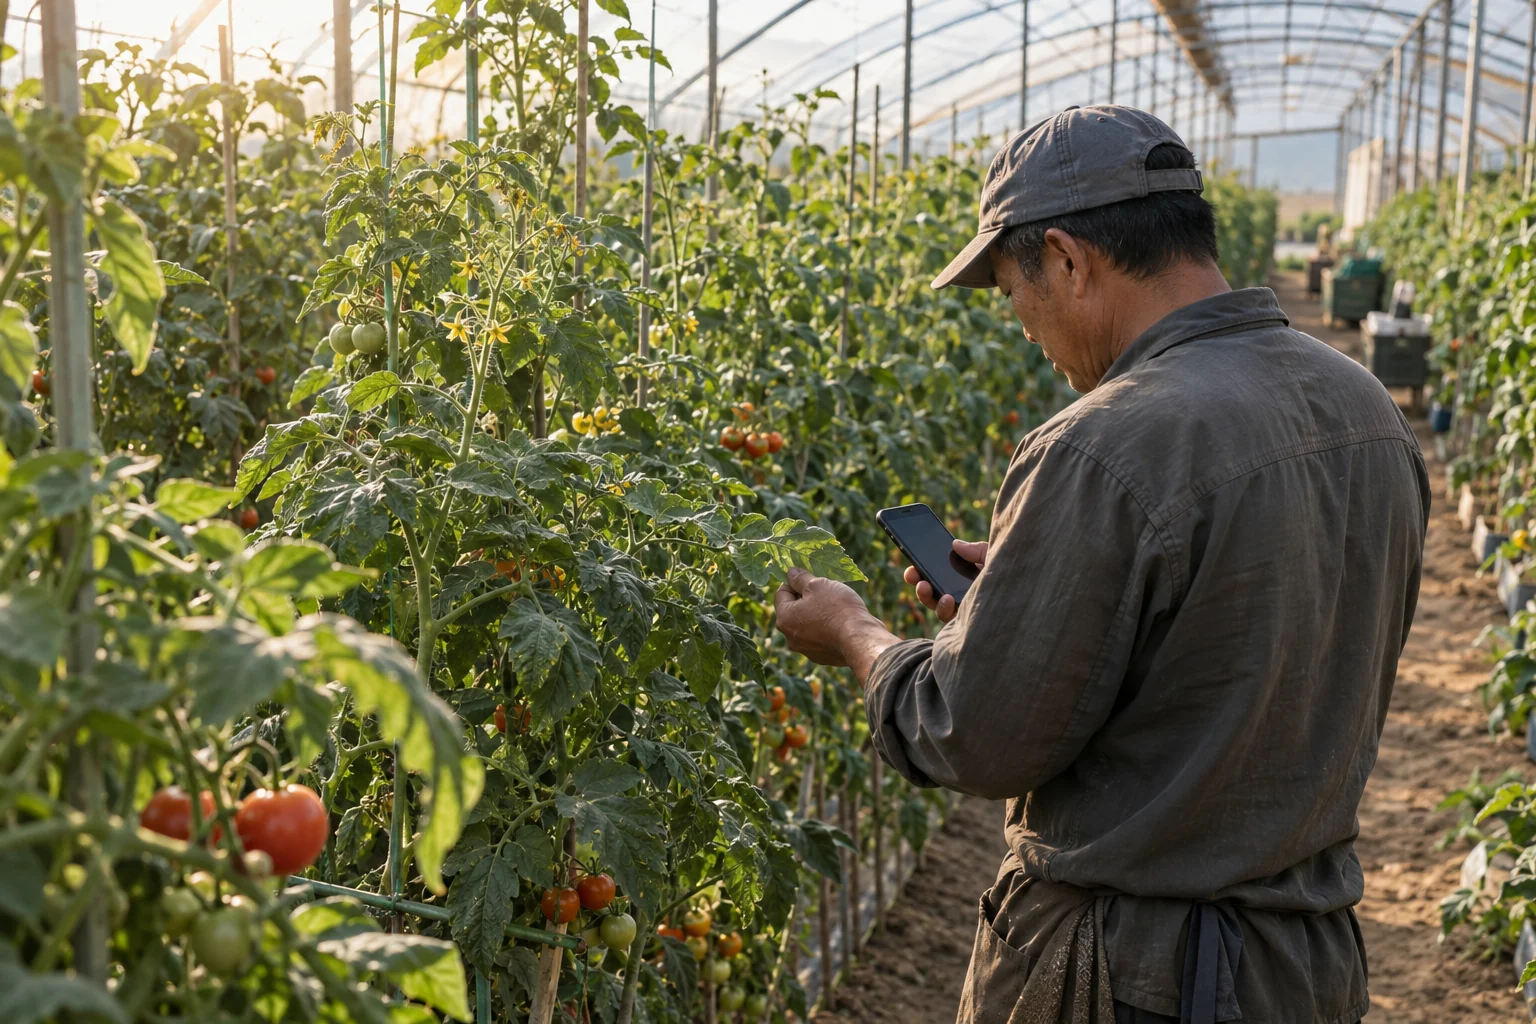
04 / Record the follow-up
Keep a record
as the plant changes.
Save the original photo, date, affected area and any action taken. Photograph the same spot from a similar angle next time, and note whether the problem has spread.
Add any action taken, follow-up photos and your own observations to the inspection record. Plan the next visit, and share a summary of the consultation with an agricultural adviser if needed.
Open inspection recordsUseful references
A reference when you need another check.
Check the publication date and whether the guidance applies in your region.
Confirm the cause before deciding on treatment. Check the product’s approved crops and target pests or diseases, local guidance and the label. Do not choose a pesticide or dose from an image recognition score alone.